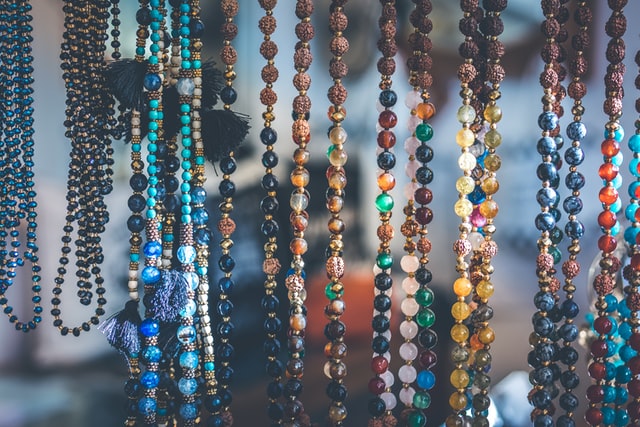
Well, here are a couple of tips to help you customize your look according to your style and taste. The following paragraphs will teach you how to make your very own necklace.
You barely need to put much effort into making one, it’s that simple. That means you can put off your online casino gaming for a bit so that ypu can make this.
What You Will Need
The very basic and obvious would be for you to make sure you have scissors, a sharp needle, dull needle, measuring tape, and embroidery thread. For the embroidery thread have two or three different colors as the gloss from the thread help protect your piece as it will be more eye-catching.
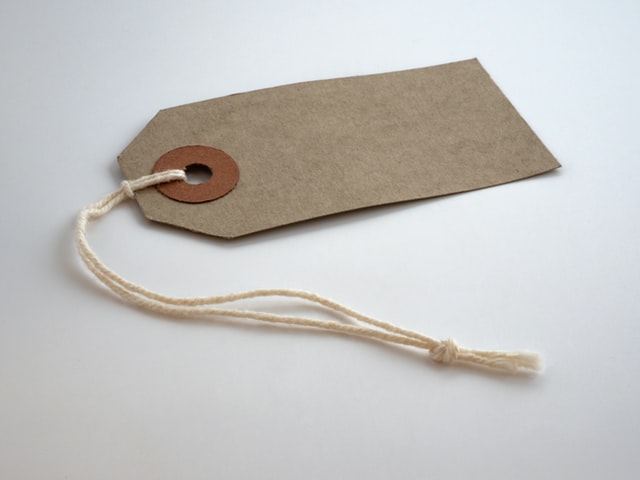
Then you need rope about one hundred and fifty centimeters in length. I recommend using solid braid cotton as your go-to rope. Of course, one is free to use a substitute material they feel can serve the intended purpose such as a chain.
How to Create a Colourful Rope Necklace
- Decide how long you want your necklace to be. Shorter or longer, it’s up to you. I would prefer one that’s in between so I would cut my rope at the midpoint.
- Pick up one half of the rope and a couple of centimeters from the center, start wrapping your embroidery thread and use it to tie a knot.
- Secure the knot by making sure it is tight.
- Hold the loose tail down with your left hand, use your right hand to wrap the long end around again and again. Be mindful to cover the tail as well. It is time-consuming but once you get the hang of it you will not mind as much.
- Wrap the thread until a substantial part of the rope is covered. This is where you use the different colors I mentioned earlier at the start. You can now mix and match them as well as to also decide if you want to my your necklace symmetrical, asymmetrical or anything really, it’s up to the individual.
- Upon completion of the color segment, tie another knot.
- Secure it as well by making sure it’s tight.
- Slip the dull needle into the wrapped thread
- Pass the tail of the thread through the needle.
- Pull the needle all the way to finish the knot. After that, you can remove the needle.
- Cut the tail
- Put your 2 halves on the table.
- Place them in a position so that they are opposite each other, one on top of the other so that one half wraps around the outside.
- Take the ends of that would be on the outside and pull them through the loop created by the rope on the opposing side you started from.
- Pull any tails left through this loop.
- Delicately pull on both sets of tails.
- Tighten to bring out the desired style.
- As you round up, tie another knot at the end of one of the halves of rope.
- Next up is sewing a slit on the end without a knot. Make stitches that will attach the two ropes together. Reinforce the stitch at least seven times to make sure it holds.
- Measure and ensure that your slit will firmly hold the knot. Add stitches on the other side as well to finish.
- Check if your knot fits through the slit and just like that in twenty or so steps, you have your necklace!